2011 Toyota RAV4 Intake Manifold Replacement: A Comprehensive Guide
2011 Toyota RAV4 Intake Manifold Replacement: A Comprehensive Guide
Replacing the intake manifold on a 2011 Toyota RAV4 is a complex process that requires patience, attention to detail, and a good understanding of the vehicle's mechanics. In this article, we'll walk you through the step-by-step process of replacing the intake manifold, including the necessary tools, precautions, and potential issues to watch out for.
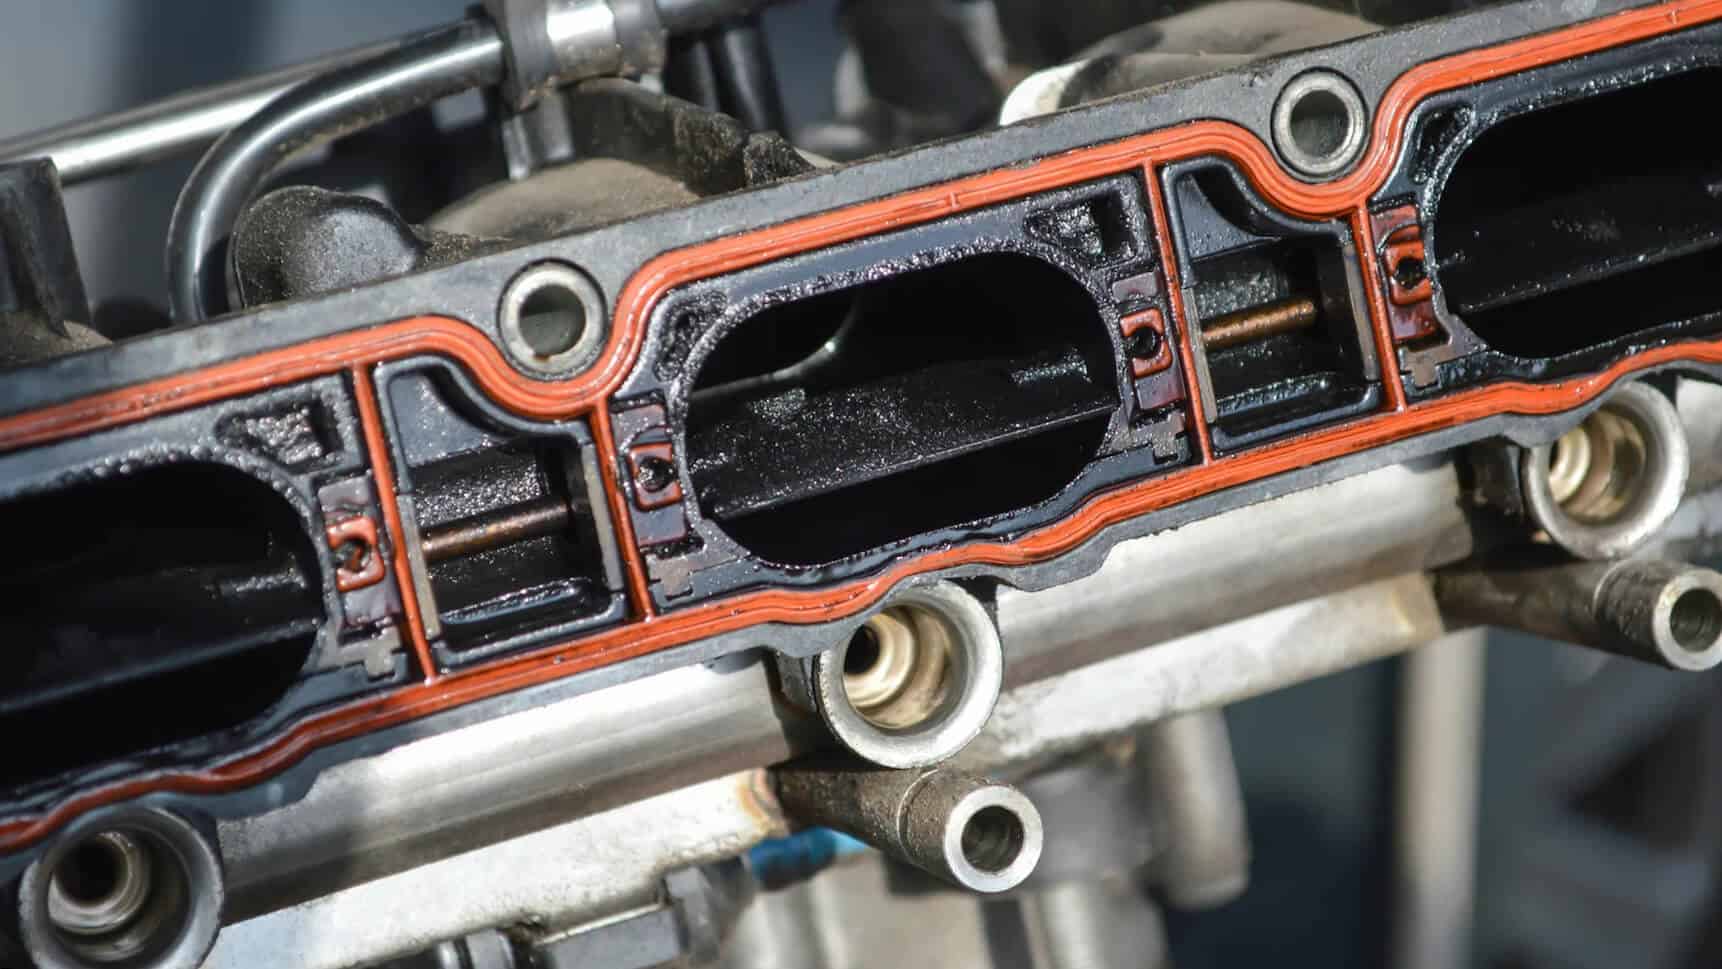
The 2011 Toyota RAV4's intake manifold is a critical component of the vehicle's engine, responsible for directing airflow into the engine's cylinders. Over time, the manifold can become clogged or damaged, leading to decreased fuel efficiency, poor engine performance, and potentially even engine failure. In this guide, we'll show you how to replace the intake manifold on your 2011 Toyota RAV4, ensuring a smooth and trouble-free process.
Tools and Materials Needed
Before starting the replacement process, make sure you have the following tools and materials on hand:
* A new intake manifold (Toyota part number 90915-11220 or equivalent)
* A socket set with a 3/8" drive and 13/16" socket
* A 3/8" drive ratchet and extension
* A torque wrench
* A fuel pressure gauge
* A can of compressed air
* A new gasket kit (Toyota part number 90915-11221 or equivalent)
* A new PCV valve (Toyota part number 90915-11222 or equivalent)
Step 1: Remove the Engine Air Filter and Intake Duct
Start by removing the engine air filter and intake duct to access the intake manifold. You'll need to loosen the clamp that holds the duct in place using a 13/16" socket. Once loose, carefully pull the duct away from the engine and set it aside.
Be sure to mark the position of the duct and filter to ensure they're reinstalled in the correct location.
Step 2: Remove the Throttle Body and Fuel Injectors
Next, remove the throttle body and fuel injectors to access the intake manifold. You'll need to loosen the screws that hold the throttle body in place using a 3/8" drive ratchet and extension. Once loose, carefully pull the throttle body away from the engine and set it aside.
Be sure to label the fuel injector electrical connectors to ensure they're reconnected in the correct order.
Step 3: Disconnect the Fuel Pressure Sensor
The fuel pressure sensor is connected to the intake manifold via a pressure line. Use a 3/8" drive ratchet and extension to loosen the nut that holds the line in place. Once loose, carefully pull the line away from the manifold and set it aside.
Step 4: Remove the Intake Manifold Bolts
The intake manifold is held in place by several bolts. Use a 3/8" drive ratchet and extension to loosen the bolts in a star pattern. Once loose, carefully pull the manifold away from the engine and set it aside.
Step 5: Remove the Old Intake Manifold Gasket
The old intake manifold gasket will need to be removed before installing the new manifold. Use a gasket scraper or a putty knife to carefully pry the gasket away from the engine.
Step 6: Inspect and Clean the Engine Block and Manifold
Once the old gasket is removed, inspect the engine block and manifold for any signs of debris or damage. Use compressed air to clean out any debris or dirt.
Step 7: Install the New Intake Manifold Gasket
Apply a thin layer of gasket sealant to the new intake manifold gasket. Make sure to follow the manufacturer's instructions for application and curing times.
Step 8: Install the New Intake Manifold
Carefully place the new intake manifold onto the engine block, ensuring it's properly aligned and seated. Use a torque wrench to tighten the manifold bolts in a star pattern.
Step 9: Reconnect the Fuel Pressure Sensor
Reconnect the fuel pressure sensor line to the new intake manifold, making sure it's securely tightened.
Step 10: Reinstall the Throttle Body and Fuel Injectors
Reinstall the throttle body and fuel injectors, making sure they're properly secured and connected.
Step 11: Reinstall the Engine Air Filter and Intake Duct
Reinstall the engine air filter and intake duct, making sure they're properly secured and connected.
Common Issues and Precautions
Replacing the intake manifold on a 2011 Toyota RAV4 can be a challenging process, and there are several potential issues to watch out for:
* **Fuel pressure issues**: The fuel pressure sensor may need to be recalibrated after replacing the intake manifold.
* **Engine misfire**: The fuel injectors may need to be cleaned or replaced to ensure proper engine performance.
* **Coolant leaks**: The new intake manifold gasket may not seal properly, leading to coolant leaks.
* **Timing belt damage**: The intake manifold bolts may damage the timing belt if they're not loosened properly.
To avoid these issues, make sure to:
* Follow the manufacturer's instructions for the replacement process.
* Use the correct tools and materials.
* Take your time and work carefully to avoid damaging the engine or surrounding components.
Conclusion
Replacing the intake manifold on a 2011 Toyota RAV4 is a complex process that requires patience, attention to detail, and a good understanding of the vehicle's mechanics. By following the step-by-step guide outlined in this article, you'll be able to replace the intake manifold with confidence and ensure a smooth and trouble-free process. Remember to take your time, work carefully, and watch out for potential issues to avoid costly repairs or engine damage.


Related Post

Unveiling The Life And Achievements Of Michelle Wahlberg: From Modeling To Multiple Talents

Unraveling the Mysteries of Ati System Disorder: From Causes to Treatment Options

The Enigmatic Linda Cardellini Husband: Uncovering the Mystery of a Private Life

The Reba McEntire Death Hoax: A Social Media Tsunami that Left Fans Scared and Confused