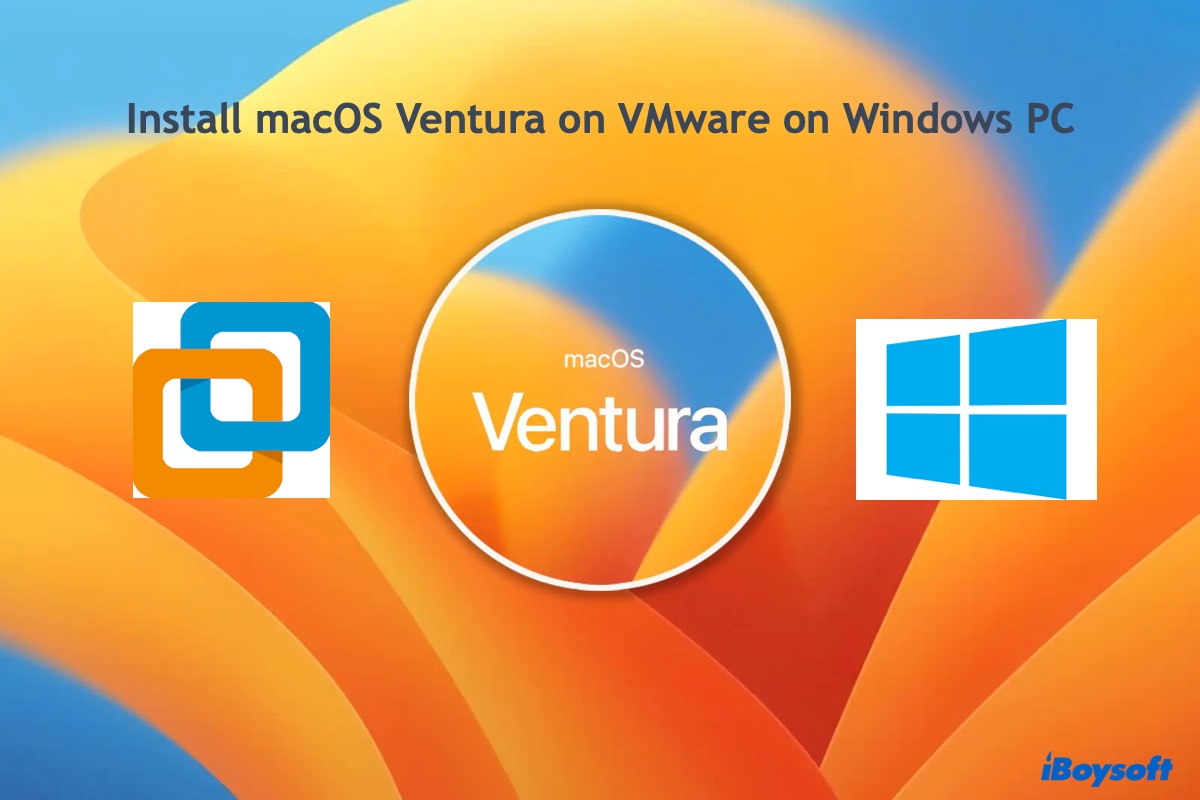
Unlock the Power of macOS Ventura on Windows: A Step-by-Step Guide
Unlock the Power of macOS Ventura on Windows: A Step-by-Step Guide
If you're a Windows user who's been eyeing the latest features of macOS Ventura but don't want to switch to a Mac, you're in luck. With the right tools and a bit of technical know-how, you can run macOS Ventura on your Windows machine, thanks to the magic of virtualization and emulation. In this detailed guide, we'll walk you through the process, highlighting the benefits, challenges, and necessary steps to get you up and running.
Running macOS Ventura on Windows is not for the faint of heart, but for those who are willing to put in the effort, the reward is well worth it. With macOS Ventura, you'll gain access to exclusive features like Stage Manager, which offers a more streamlined and organized way of working, as well as improved security and performance. But, it's essential to understand the technical requirements and potential limitations before diving in.
The Tools of the Trade
To run macOS Ventura on Windows, you'll need a few essential tools:
1. **Virtualization software**: This is the key to running macOS on Windows. Popular options include VMware Fusion, VirtualBox, and Parallels Desktop. Each has its strengths and weaknesses, and the choice ultimately depends on your specific needs and preferences.
2. **macOS Ventura installation media**: You'll need an ISO file or a bootable USB drive with the macOS Ventura installation files. This can be obtained through Apple's Developer website or by creating a bootable USB drive from a friend's Mac.
3. **A 64-bit Intel or Apple Silicon processor**: macOS Ventura requires a 64-bit processor to run. If you're using a Windows machine, you'll need to ensure that it meets this requirement.
4. **At least 16 GB of RAM**: Running a virtual machine requires a significant amount of RAM, and macOS Ventura is no exception. A minimum of 16 GB is recommended, but 32 GB or more is ideal.
5. **A compatible graphics card**: macOS Ventura requires a compatible graphics card to run. Make sure your Windows machine has a graphics card that meets the requirements.
Choosing the Right Virtualization Software
With so many virtualization options available, it can be challenging to choose the right one for your needs. Here are a few factors to consider:
* **Ease of use**: If you're new to virtualization, you may want to opt for a more user-friendly solution like Parallels Desktop.
* **Performance**: If you're looking for top-notch performance, VMware Fusion is a popular choice among virtualization enthusiasts.
* **Cost**: If budget is a concern, VirtualBox is a free and open-source option that still offers excellent performance.
Each virtualization software has its strengths and weaknesses, and the choice ultimately depends on your specific needs and preferences.
Step-by-Step Guide to Running macOS Ventura on Windows
With your tools and software in place, it's time to start the installation process. Here's a step-by-step guide to get you up and running:
1. **Create a virtual machine**: Open your virtualization software and create a new virtual machine. Choose the appropriate settings for your machine, including the amount of RAM and CPU cores.
2. **Add the macOS Ventura installation media**: Insert the installation media into your virtual machine and configure the settings to recognize it.
3. **Install macOS Ventura**: Follow the on-screen instructions to install macOS Ventura on your virtual machine.
4. **Configure your virtual machine**: Once installation is complete, configure your virtual machine to your liking, including setting up Wi-Fi and installing essential apps.
5. **Enjoy macOS Ventura**: With your virtual machine up and running, you can now enjoy the exclusive features and performance of macOS Ventura on your Windows machine.
Benefits and Limitations
Running macOS Ventura on Windows offers several benefits, including:
* **Exclusive features**: With macOS Ventura, you'll gain access to exclusive features like Stage Manager, which offers a more streamlined and organized way of working.
* **Improved security**: macOS Ventura includes enhanced security features, including improved firewall and antivirus capabilities.
* **Better performance**: Running macOS Ventura on a virtual machine can offer improved performance compared to running it on actual hardware.
However, there are also some limitations to consider:
* **Resource-intensive**: Running a virtual machine requires significant system resources, which can impact performance on lower-end hardware.
* **Compatibility issues**: Some apps and software may not be compatible with macOS Ventura on a virtual machine, which can limit your functionality.
* **Cost**: If you're not already using a virtualization software, you may need to purchase one, which can add to the overall cost.
In conclusion, running macOS Ventura on Windows requires some technical know-how and the right tools. While there are benefits to doing so, it's essential to understand the limitations and potential challenges before diving in. With the right setup and configuration, you can enjoy the exclusive features and performance of macOS Ventura on your Windows machine.


Related Post

Yellowstone Caldera: The Sleeping Giant's Eruption Risk: What You Need to Know

Sarah Jessica Parker: Unveiling the Reality of Her Height and Weight
San Angelo Tx Shooting: Unprecedented Violence Rocks City, Leaving Behind Devastating Aftermath

Unlock Your Potential with Top US 1 Shorthaul Careers - Discover the Hidden Gems of a Lifelong Career